
I have a confession to make. I have never made a cheese cake before. Baked or otherwise. But I do love them. I treated myself to a new baking book - The Hummingbird Bakery, Cake Days. And oh my! It is wonderful. In it there are a few baked cheesecake recipes. So I thought, How hard can it be? Not terribly, it would seem!!
First one I fancied was Summer Fruit Cheesecake.

Recipe
Serves 8-12
For the biscuit base
- 220g digestive biscuits
- 100g unsalted butter, melted
- 700g full-fat cream cheese (such as Philadelphia)
- 1 tsp vanilla essence
- 120g caster sugar
- 3 large eggs
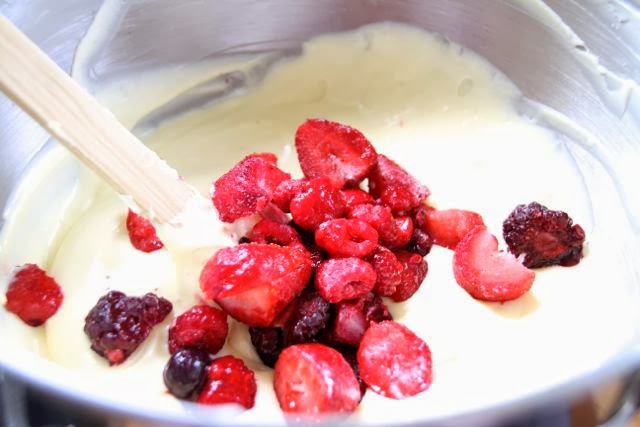
- 80g frozen summer fruits or mixed berries, defrosted, plus extra berries to decorate (optional)
- Whipped soured cream, to serve (optional)
- 1 x 20cm (8in) diameter spring-from cake tin
- First line the base of the cake tin with baking parchment. Place the biscuits in a food processor and whiz into fine crumbs using the blade attachment. If you prefer, place the biscuits in a plastic bag, seal it closed and crush with a rolling pin.
- Tip the biscuit crumbs into a bowl, add the melted butter and mix together with a spoon, then place the mixture in the prepared tin, pressing it into the base with the back of the spoon. Place in the fridge to cool and set for 20-30 minutes.
- Meanwhile, preheat the oven to 160C/140C fan/gas 3, and make the cheesecake topping.
- Using a hand-held electric whisk or a free-standing electric mixer with the paddle attachment, mix together the cream cheese, vanilla essence and sugar on a medium speed until smooth. Break the eggs in one at a time, mixing thoroughly after each addition and scraping down the sides of the bowl to make sure every bit is incorporated, Stir in the summer fruits by hand, checking they are evenly dispersed, then pour the mixture into the prepared tin.
- Wrap the tin in foil (see below), place in a roasting tin and fill this with water to about 5mm from the top of the cake tin, creating a water bath for the cheesecake to bake in. The moisture created in the oven helps to prevent the top of the cheesecake from cracking. Run a palette knife around the inside edge of the tin; this releases the mixture from the sides so that it doesn’t stick. (I forgot to do this bit, but it didn't stick at all)

- Place in the oven and bake for 35-45 minutes ( mine took nearer 55 minutes) or until the cheesecake is a light golden colour on top (more so around the edges) and generally firm to the touch, with only a slight wobble in the middle.
- Keeping the cheesecake in the tin, allow it cool down at room temperature, then place in the fridge to set for a few hours, or preferably overnight. (there was no way on earth mine was going to wait overnight! Not a hope!) Once the cheesecake has set, it can be taken out of the tin and decorated with extra berries (fresh ones, if you prefer) or whipped soured cream.


Oh also! just cos it was Halloween this week - I made a scary cake!

It was just a very simple lemon sponge with lemon butter cream frosting. But I made it orange. Then made a lot of black fondant decorations - I particularly like the skulls! Since Halloween was on Thursday I took it down to roller derby training. It went down rather well!
The cheesecake looks delicious! I've only ever made it in the crockpot, and it's so easy and foolproof I've never tried the oven. (If you search for "crockpot cheesecake" on my blog (a thousand words) I have the recipe and instructions.)
ReplyDeleteHi Jen, I just spent hours yesterday catching up on all your stuff!! I found the crock pot cheesecake recipe :) Im just wondering if I could do it. Our slow cooker is an oval shape and I dont think I have anything that'll fit in it!
DeleteYour Halloween cake is beautiful! And cheesecake...Mmmmm...
ReplyDeleteI was pleased with the halloween cake - it went down a storm as well :)
DeleteThey book look fabulous. I've always stayed away from baked cheesecakes but I tell you what that looks so yummy. ♥♥♥
ReplyDeleteI've always liked them. Not something I've had often though. Also I had just assumed they would be terribly difficult to do, and it just wasnt! More to come I reckon!
DeleteLaura ... that looks absolutely divine! I just adore cheesecake. Well done ... :)
ReplyDeleteYou make some amazing treats, Laura! That cheesecake looks divine!
ReplyDelete